

How To Repair Or Replace Sun Shade On 2006 Commander
The purpose of a sun visor is to protect the optics of the commuter and passenger from the glare of the sun. Over time, a sun visor can become damaged or worn downwards and crave replacement. You lot tin replace a sun visor yourself when necessary past following a few easy-to-follow steps.
Role 1 of 3: Choosing a replacement lord's day visor
Before you replace your old dominicus visor, y'all need to find a replacement. When searching for a replacement, remember to keep in mind the make and model of your car so that you purchase the proper size of sun visor.
Stride 1: Make up one's mind your budget. First, decide how much coin you have to spend on a replacement sunday visor.
Yous can find cheap sun visors online or at local retailers.
Ensure that you lot know the size of sun visor you need earlier shopping to make the process easier.
Stride 2: Decide the type. When determining the blazon of sunday visor you want, you can cull from a few options.
Sun visors are manually operated, requiring yous to pull them downwards and put them up past hand. You lot tin can also shift most outward to cake the sun coming in from either the driver'southward or passenger's side front windows.
Some sun visors accept an extension that you tin can pull out to cake fifty-fifty more of the sun to the side or in the space between the two visors over the rearview mirror.
Some sun visors likewise include a vanity mirror that, when opened, lights upwardly.
Step 3: Make up one's mind the color. When selecting a replacement sun visor, as well consider what color y'all prefer.
To ensure that you become the verbal visor you lot demand, consider purchasing the part from the manufacturer.
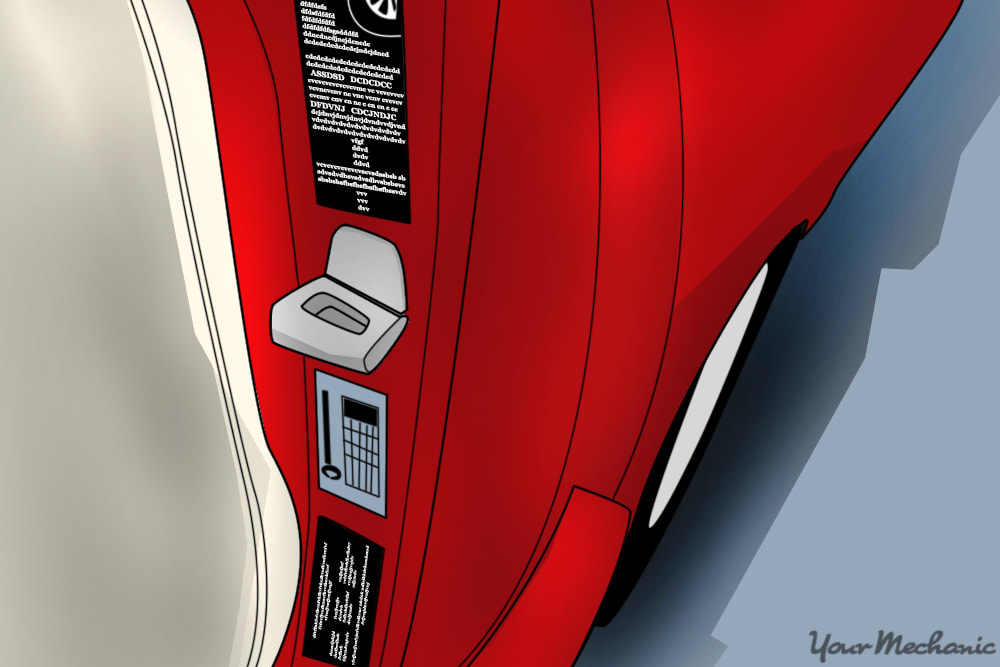
Vehicle owners demand to go on in mind the size of lord's day visor that they need. This depends in large part on the make, model, and twelvemonth of your vehicle. You can find information pertaining to a vehicle's make, model, and yr inside the door jamb of the driver's side door, equally well every bit on the vehicle's title and registration.
Function 2 of 3: Removing the sun visor
Material Needed
- Screwdriver (flathead and Philips head)
Once you buy the replacement sun visor, it is time to remove the onetime one. But accept special care when removing the screws and make sure to identify them where they won't get lost.
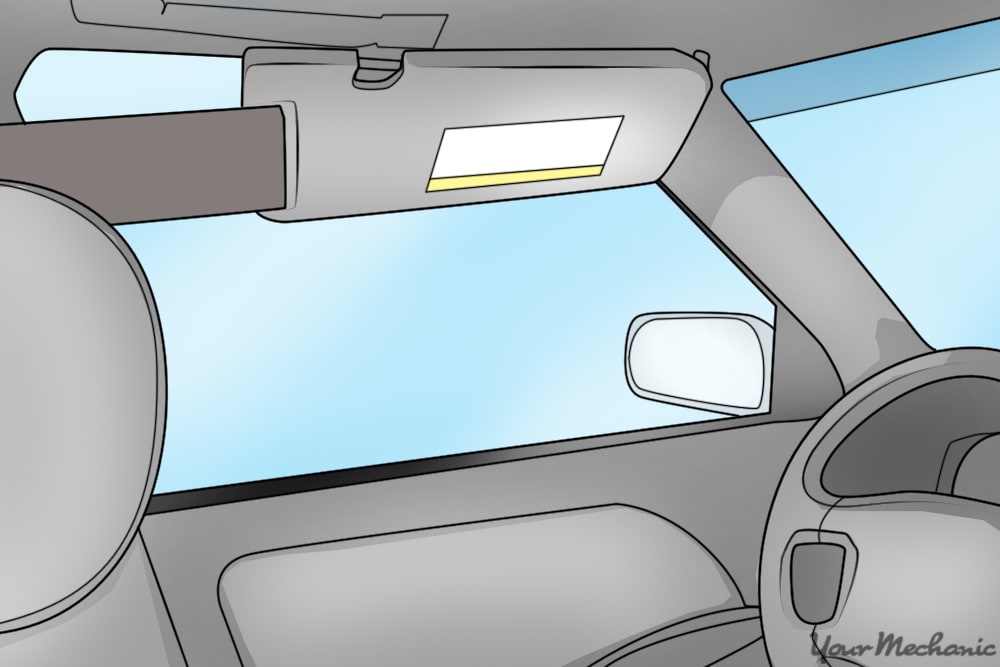
Stride ane: Unhook the sun visor. Take the sun visor and pull it down.
Turn it to the side and so that it is upwardly against the window.
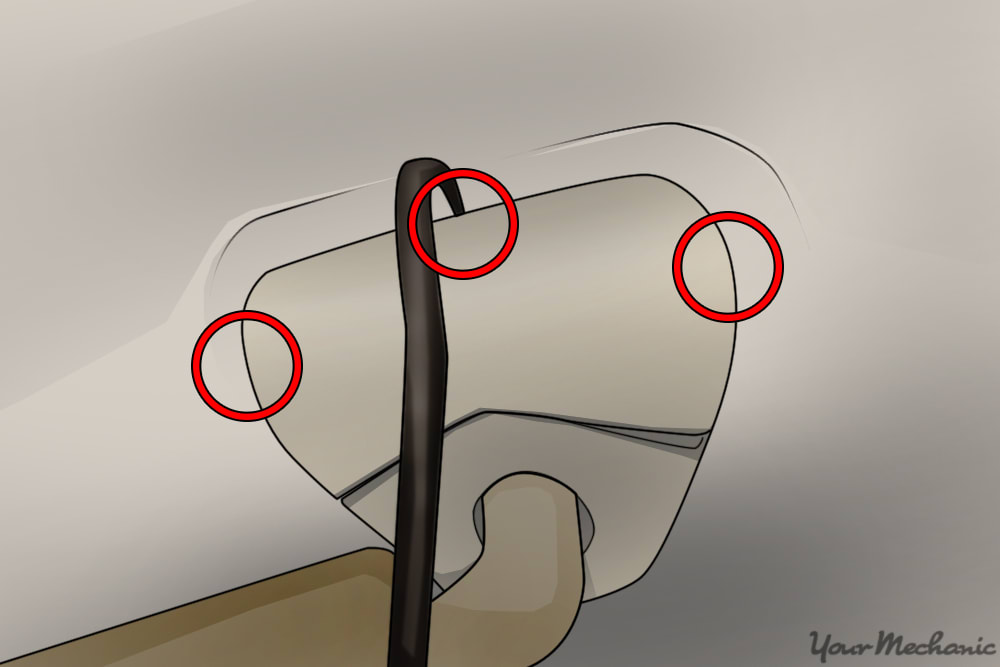
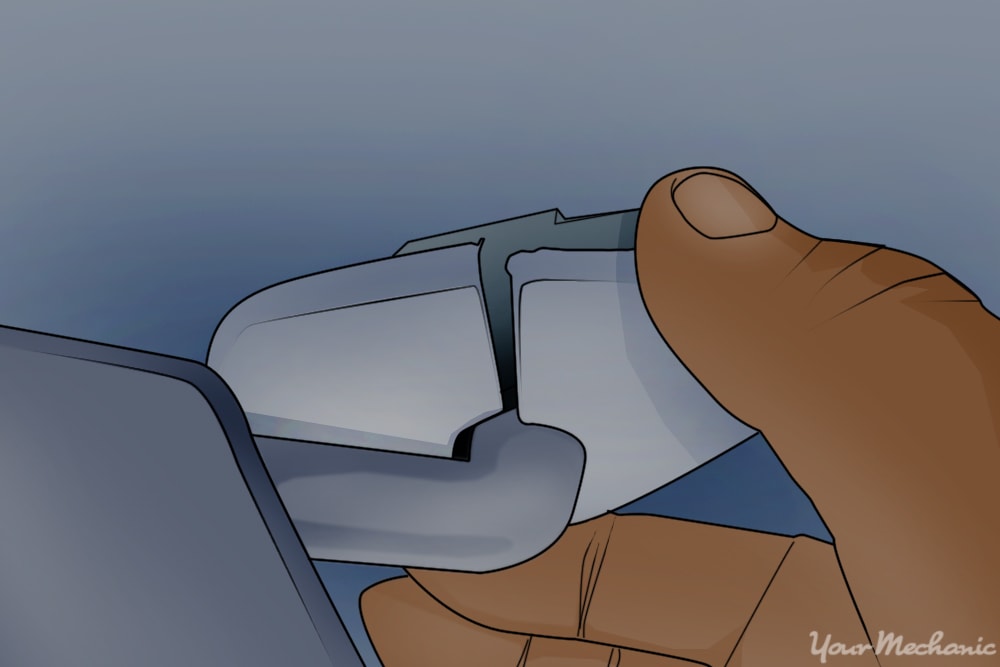
Footstep ii: Remove the primary assembly cover. Use a apartment-head screwdriver to pry the plastic cover off of the main assembly.
The master associates is the surface area where the sun visor attaches to the ceiling of the vehicle.
Expect for whatsoever tabs, and try not to pause them when removing the embrace. The number of tabs, if any, depends on the make and model of the vehicle.
Remove the plastic cover by inserting a flathead screwdriver into the slit running downwardly from the top portion of the plastic embrace surface. Wiggle the cover carefully until it comes loose, moving the sun visor effectually if necessary. This should expose the screws of the main assembly.
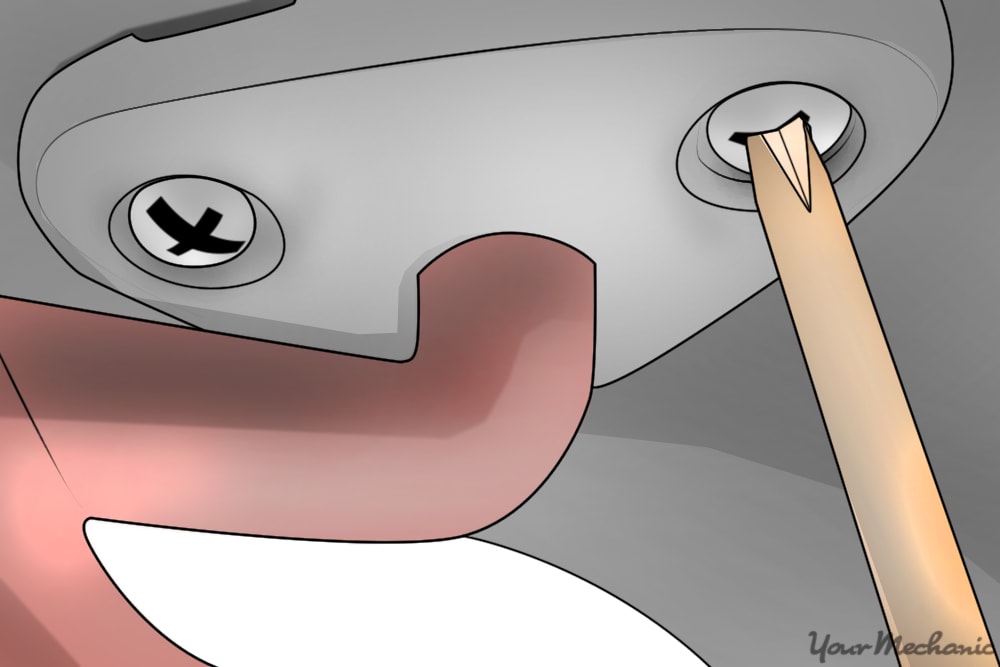
Step iii: Remove the screws from the master assembly. Depending on the type of screws, use either a flathead or Phillips head screwdriver to remove all of the screws holding the visor in identify.
The number of screws typically range from 2 to 4.
Step 4: Remove the visor. After removing all of the screws property the visor in place, pull the visor out of the principal associates.
Y'all might have to twist the visor slightly to articulate any tabs that help concord the visor in identify.
Part three of 3: Replacing the sun visor
Textile Needed
- Screwdriver (flathead and Phillips head)
After removing the old visor, it is time to install the new 1. Brand sure yous install it with any mirrors or warning labels facing toward the rider's or driver's seat.
Step 1: Insert the visor stem. Take the replacement visor and insert the visor stalk into the dominicus visor assembly.
For visor stems that have a tab, insert the tab into the placement hole. Then slide the rest of the visor stalk into place.
Pace two: Insert the screws. Line up the screw holes of the assembly with the visor placement holes.
Insert the screws and tighten them downwardly, using a flathead or Phillips head screwdriver, depending on the screw type.
Step three: Replace the assembly cover. Snap the assembly cover back into identify.
Replace information technology carefully to avoid cracking the embrace. Likewise, brand sure to fit all tabs dorsum into their slots properly.
Test the sun visor to make sure it works properly and has a full range of movement.
Keeping your vehicle's dominicus visors in good repair means y'all can drive safer and in comfort past keeping the sun out of your and your passenger'south eyes. If you lot exercise not feel confident to properly supplant a sun visor yourself, seek the help of an expert mechanic to perform the task for you.
The statements expressed above are only for informational purposes and should be independently verified. Please encounter our terms of service for more details

Source: https://www.yourmechanic.com/article/how-to-remove-and-replace-a-vehicle-s-sun-visor-by-cheryl-knight
Posted by: mccarthymecer1946.blogspot.com
0 Response to "How To Repair Or Replace Sun Shade On 2006 Commander"
Post a Comment